SereniCare Funeral Home • July 18, 2022
Honor Your Loved One With a Memorial Wall
Creating a memorial wall for your loved one is a wonderful way to honor and pay tribute to them. Learn more about these special tributes and how to create one.
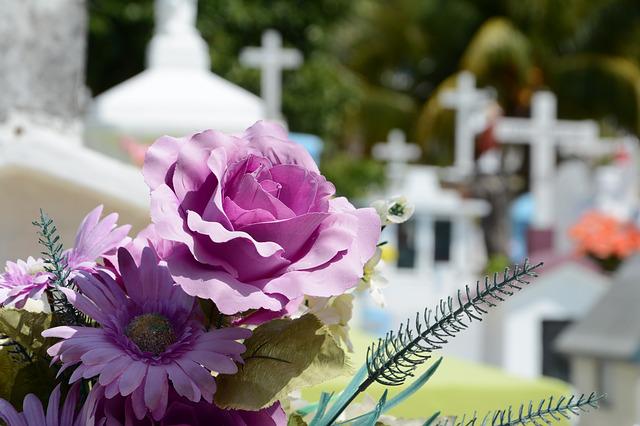
Some families wish to create a tribute to their loved ones after their funeral. Some may choose something big, such as donating a bench to a local park in Utah, while others may do something smaller, such as creating a scrapbook. If you want a unique way to honor and remember your loved one, consider creating a memorial wall.
What is a Memorial Wall?
If you are not familiar with a memorial wall, it is simply a wall or space dedicated to your loved one’s memory. Most often, these walls are seen in people’s living rooms or along staircases, but they can be located anywhere in the home.
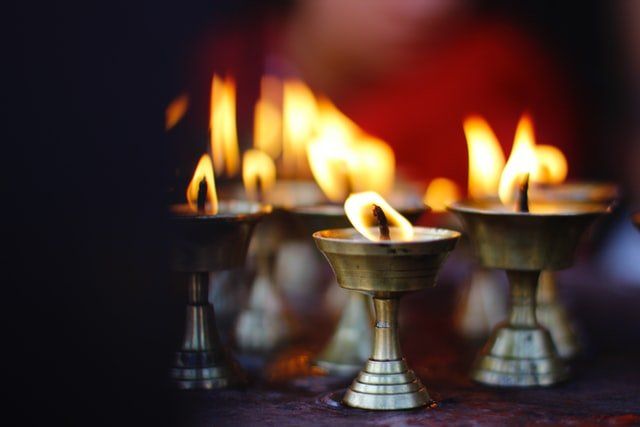
They typically feature photographs of the deceased as well as other special items such as plants, candles, or personal mementos. They can be as large or as small as you wish.
What You Need
Creating a memorial wall is very easy as it does not require a lot of supplies.
What You Need:
- Picture frames - for framing the photographs
- Photographs - favorite images of your loved one
- Ruler - to measure the space between the pictures when hanging
- Nails - to secure pictures to the wall
- Hammer - to drive nails into the wall
- Pencil - to mark where pictures should be hung
- Extras - shelves, crosses, or other wall décor you would like to include
How to Create the Wall
Creating the wall is easy. To start, place the photographs into the picture frames. Then, lay out all of the pictures on the floor. Also, include any extras in the layout you might be adding, such as shelves or crosses. Take some time and arrange everything in a pattern that you like. This will be the same pattern that will then be on the wall. Arranging everything on the floor this way first allows you to change and switch the pictures and other elements around easily without damaging the wall. This way, you can get the perfect pattern before adding nails to the wall.
When you have the pattern decided, it’s time to secure the pictures to the wall. It is easiest if you start from the center and work your way out. So, choose a center picture and secure it to the wall. You will then take the next picture and attach it to the wall. Repeat the process until all pictures and extra elements are secured.
You must hang each picture at an equal distance from one another. This will give the wall an organized and put together look rather than one that is just cluttered or looks messy. To do this, use your ruler and pencil to mark where pictures should be hung as you go along. A good rule of thumb is to have about 2 inches of space in between each item.
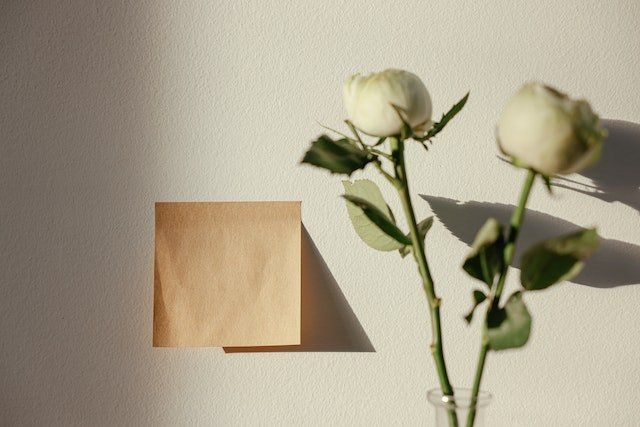
After your loved one’s funeral services in Utah creating a wall like this can be a lovely tribute!
SereniCare Funeral Home: Honoring life and supporting families -
just a call away.